In this article, we explore the essential question of what amperage is required for welding different thicknesses of metals. Whether you’re a beginner in the world of welding or an experienced metalworker, understanding the correct amperage for welding various metal thicknesses is crucial for achieving optimal results. Join us as we uncover the secrets behind this important aspect of welding and equip you with the knowledge needed to ensure successful and efficient welding projects.
Factors Affecting Amperage for Welding
When it comes to welding, several factors can affect the amperage required for a successful weld. Understanding these factors is essential for achieving strong and consistent welds. Let’s take a closer look at each of these factors and how they influence amperage.
Type of Metal
The first factor that affects amperage is the type of metal being welded. Different metals have different conductivity levels, which means they require varying amounts of amperage to weld properly. For example, aluminum has higher conductivity than steel, so it typically requires higher amperage for welding. It is important to choose the appropriate amperage range for each metal to ensure a successful weld.
Metal Thickness
The thickness of the metal being welded is another crucial factor in determining the amperage required. Thicker metals require higher amperage to create a strong and effective weld. On the other hand, thinner metals need lower amperage for welding. It is essential to refer to the amperage range recommendations for different metal thicknesses to achieve optimal results.
Electrode Type
The electrode type used for welding also plays a significant role in determining amperage. Different electrodes have different specifications, including their amperage range. It is important to choose the right electrode for the job and ensure that its amperage range aligns with the requirements of the metal and the welding process.
Joint Configuration
The configuration of the joint being welded also affects the amperage needed. Different joint configurations, such as butt joints or T-joints, have varying amperage requirements. Some joint configurations might require higher amperage to achieve full penetration and ensure a strong weld.
Position of Welding
The position in which the welding is taking place can influence the required amperage. Welding in different positions, such as flat, horizontal, vertical, or overhead, can affect the travel speed and heat input, which in turn affects the amperage needed. It is important to consider the position during welding and adjust the amperage accordingly.
Power Source
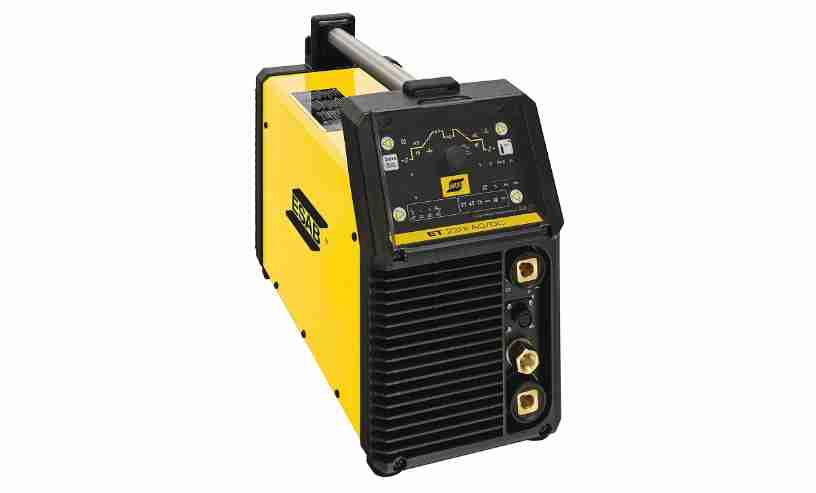
The power source being used for welding also plays a crucial role in determining the amperage. Different power sources have different maximum output capacities, which can affect the amperage that can be achieved. It is important to select a power source that can provide the necessary amperage for the specific welding application.
Welding Technique
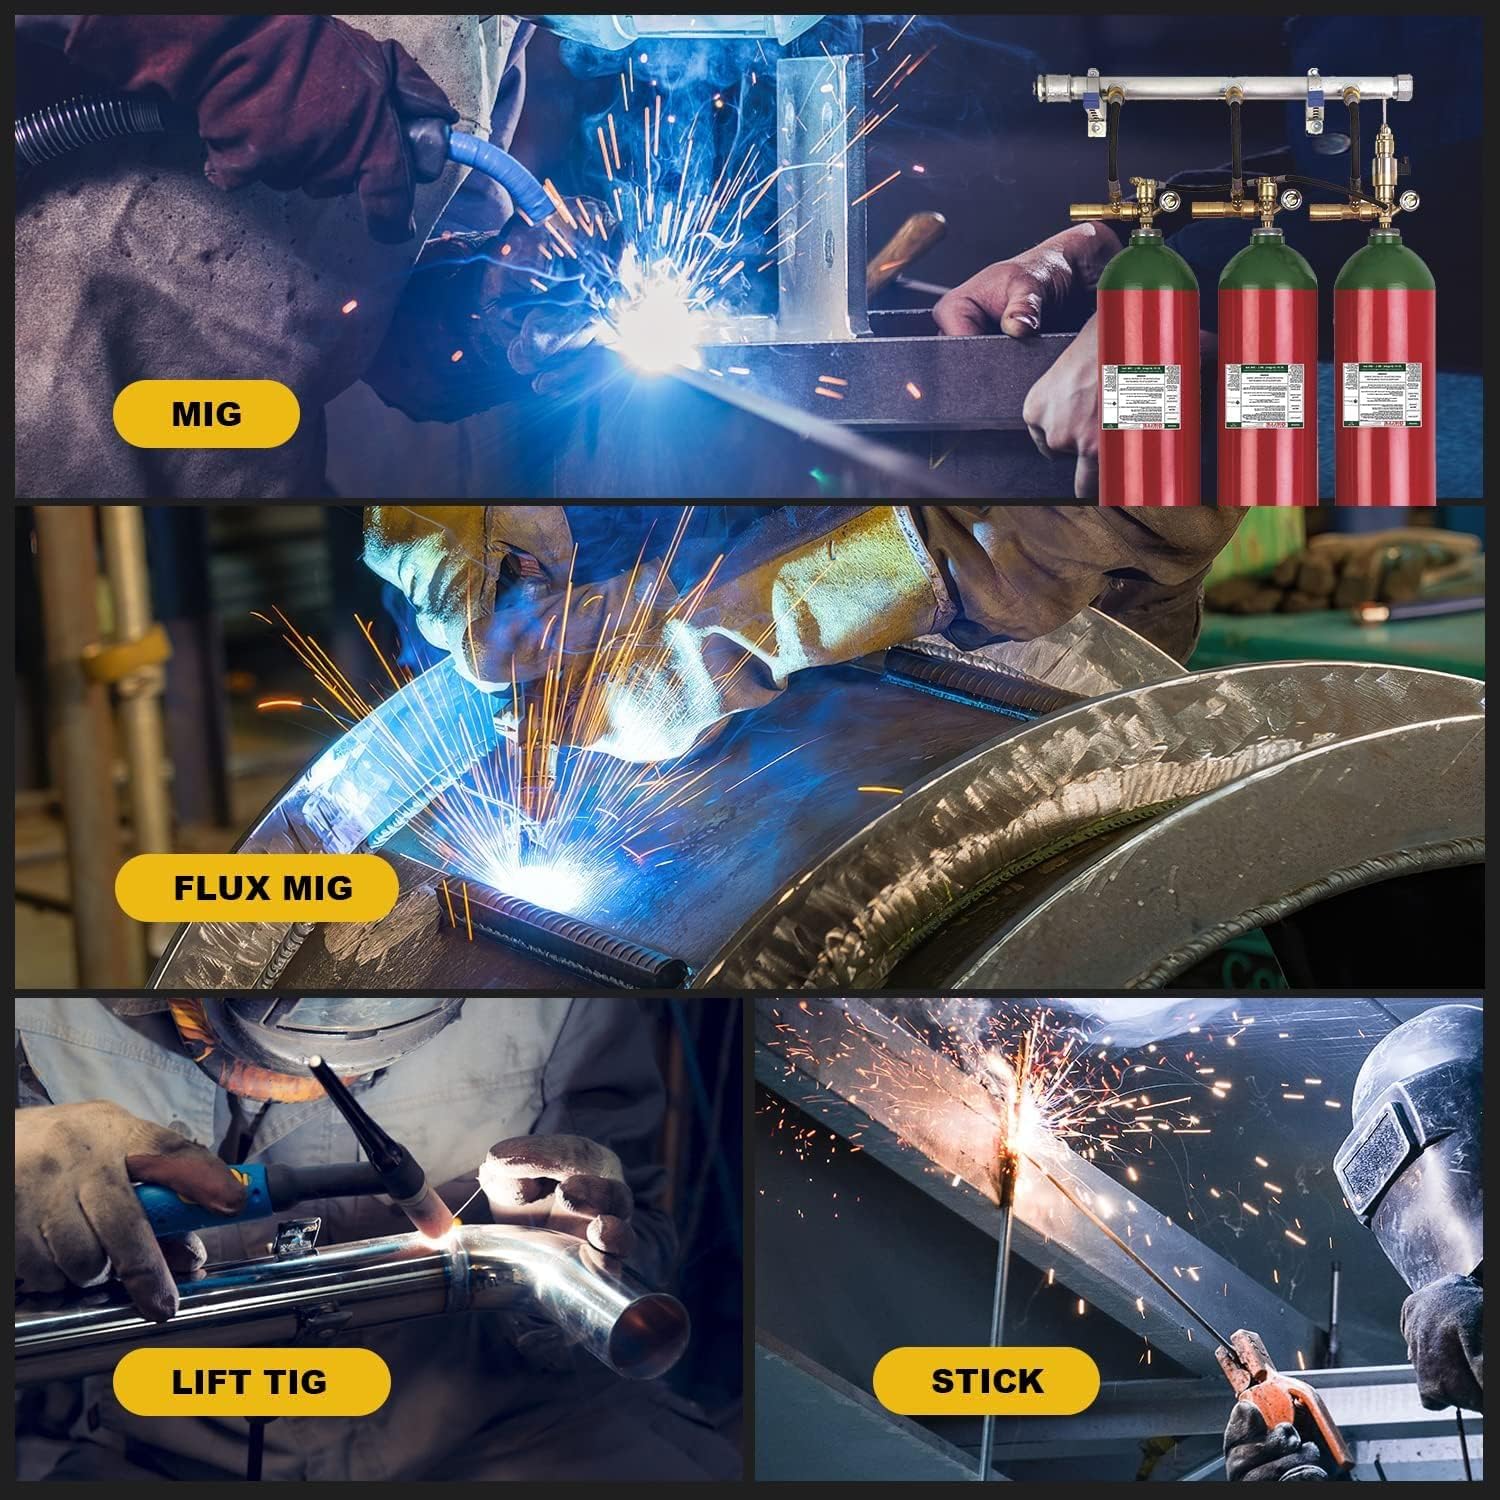
The welding technique employed can also influence the required amperage. Different techniques, such as MIG welding, TIG welding, or stick welding, have varying amperage requirements. It is essential to use the appropriate welding technique and adjust the amperage accordingly to achieve the desired weld quality.
Welding Speed
The welding speed, or the rate at which the welder travels along the joint, can impact the required amperage. Faster welding speeds generally require higher amperage to maintain proper penetration and fusion. Conversely, slower welding speeds might require lower amperage. It is crucial to find the right balance between welding speed and amperage to ensure a successful weld.
Preheating
Preheating the metal before welding can also affect the amperage requirements. In colder environments, preheating the metal helps to reduce the amperage needed by increasing the metal’s temperature. This can improve weld quality and reduce the risk of cracking. The specific preheating temperature and duration will depend on the metal and its thickness.
Ambient Temperature
Finally, the ambient temperature in which the welding takes place can influence the required amperage. In colder temperatures, the metal cools faster, requiring higher amperage to compensate and maintain proper fusion. Conversely, in hotter temperatures, the metal retains more heat, requiring lower amperage. It is important to consider the ambient temperature and adjust the amperage accordingly for reliable welds.
Amperage Range for Different Metal Thicknesses
Now that we have discussed the factors affecting amperage, let’s dive into the specific amperage ranges recommended for different metal thicknesses. These recommendations serve as general guidelines to help welders achieve optimal results.
Thin Metal (Up to 1/8 inch)
When working with thin metal, which is typically defined as up to 1/8 inch in thickness, it is generally recommended to use lower amperage settings. The amperage range may fall between 25 to 100 amps, depending on the specific metal type and joint configuration. It is crucial to remember that thin metals are more susceptible to warping and distortion, so using lower amperage, along with proper technique and control, helps mitigate these challenges.
Medium Metal (1/8 to 1/4 inch)
For medium-thickness metals, ranging from 1/8 to 1/4 inch, a moderate increase in amperage is usually necessary. The amperage range may fall between 100 to 200 amps, again depending on factors such as metal type, joint configuration, and welding technique. Achieving proper penetration and fusion is crucial when working with medium-thickness metals, and adjusting the amperage accordingly facilitates this.
Thick Metal (Above 1/4 inch)
When working with thick metals, defined as those above 1/4 inch in thickness, higher amperage settings are generally required. The amperage range can vary from 200 to 400 amps, depending on factors such as metal type, joint configuration, and welding technique. Thick metals necessitate higher amperage to ensure sufficient heat input and proper fusion throughout their thickness.
It is important to note that these amperage ranges provide a starting point, and adjustments may be necessary depending on other factors, such as the specific welding process being used and the desired weld quality.
Amperage Range for Common Welding Processes
In addition to metal thickness, different welding processes also have specific amperage requirements. Let’s explore the amperage ranges for some commonly used welding processes.
Gas Metal Arc Welding (GMAW)
Gas Metal Arc Welding, also known as MIG welding, typically requires an amperage range of 50 to 200 amps. This range may vary depending on factors such as the metal being welded, wire size, and shielding gas used. MIG welding is often preferred for its versatility and ease of use.
Flux-Cored Arc Welding (FCAW)
Flux-Cored Arc Welding, or FCAW, is a welding process that utilizes a flux-filled electrode wire. The amperage range for FCAW typically falls between 90 to 300 amps. This range may vary depending on factors such as the metal being welded, joint configuration, and wire size. FCAW is known for its high deposition rates and suitability for outdoor applications.
Shielded Metal Arc Welding (SMAW)
Shielded Metal Arc Welding, commonly known as stick welding, is a widely used welding process. The amperage range for SMAW can vary from 40 to 300 amps. The specific amperage needed depends on factors such as the metal being welded, electrode type and size, and joint configuration. Stick welding is known for its versatility and ability to weld in various positions.
Gas Tungsten Arc Welding (GTAW)
Gas Tungsten Arc Welding, or TIG welding, uses a non-consumable tungsten electrode to create the weld. The amperage range for GTAW typically falls between 5 to 300 amps, depending on factors such as the metal being welded, electrode size, and joint configuration. TIG welding is highly versatile and produces high-quality welds, making it ideal for critical applications.
Submerged Arc Welding (SAW)
Submerged Arc Welding, or SAW, is a welding process that utilizes a continuously fed electrode and a granular flux. The amperage range for SAW typically falls between 200 to 2000 amps, depending on factors such as the metal being welded, electrode size, and joint configuration. SAW is often used for high-speed welding of thick materials.
Amperage Recommendations for Different Metal Thicknesses
Let’s now bring together the factors we discussed earlier, metal thickness, and the specific welding processes to provide amperage recommendations for different metal thicknesses.
Thin Metal (Up to 1/8 inch)
For thin metals, such as those up to 1/8 inch in thickness, some recommended amperage ranges for specific welding processes are as follows:
- GMAW (MIG): 25 to 100 amps
- FCAW: 90 to 150 amps
- SMAW (Stick): 40 to 80 amps
- GTAW (TIG): 30 to 90 amps
It is important to note that these recommended amperage ranges serve as a starting point, and adjustments may be necessary based on other factors and the specific requirements of the weld.
Medium Metal (1/8 to 1/4 inch)
For medium-thickness metals, ranging from 1/8 to 1/4 inch, the recommended amperage ranges for specific welding processes are as follows:
- GMAW (MIG): 100 to 150 amps
- FCAW: 150 to 200 amps
- SMAW (Stick): 80 to 130 amps
- GTAW (TIG): 90 to 150 amps
Once again, these ranges provide a general guideline, and adjustments may be required based on other factors and the specific welding application.
Thick Metal (Above 1/4 inch)
When working with thick metals, defined as those above 1/4 inch in thickness, the recommended amperage ranges for specific welding processes are as follows:
- GMAW (MIG): 150 to 200 amps
- FCAW: 200 to 300 amps
- SMAW (Stick): 130 to 200 amps
- GTAW (TIG): 150 to 300 amps
- SAW: 300 to 600 amps
As always, these ranges are starting points, and adjustments may be necessary based on other factors, such as joint configuration, metal type, and desired weld quality.
Choosing the Right Electrode
Selecting the right electrode is crucial for achieving successful welds. The electrode plays a significant role in determining the amperage range and overall weld quality. Let’s explore the different types of electrodes and their characteristics.
Types of Electrodes
-
E6010: This is a cellulose-based electrode that provides deep penetration and good wettability. It is commonly used for root pass welding and is suitable for all-position welding.
-
E6011: Similar to E6010, this electrode offers deep penetration and is suitable for all-position welding. However, it also produces a smoother arc and is easier to use.
-
E6013: Known for its versatility, E6013 is a general-purpose electrode suitable for various welding positions. It offers good arc stability, ease of use, and produces a visually appealing weld bead.
-
E7014: This electrode is designed for applications that require a strong, high-quality weld. It offers excellent deposition rates, good slag removal, and can be used in all positions.
-
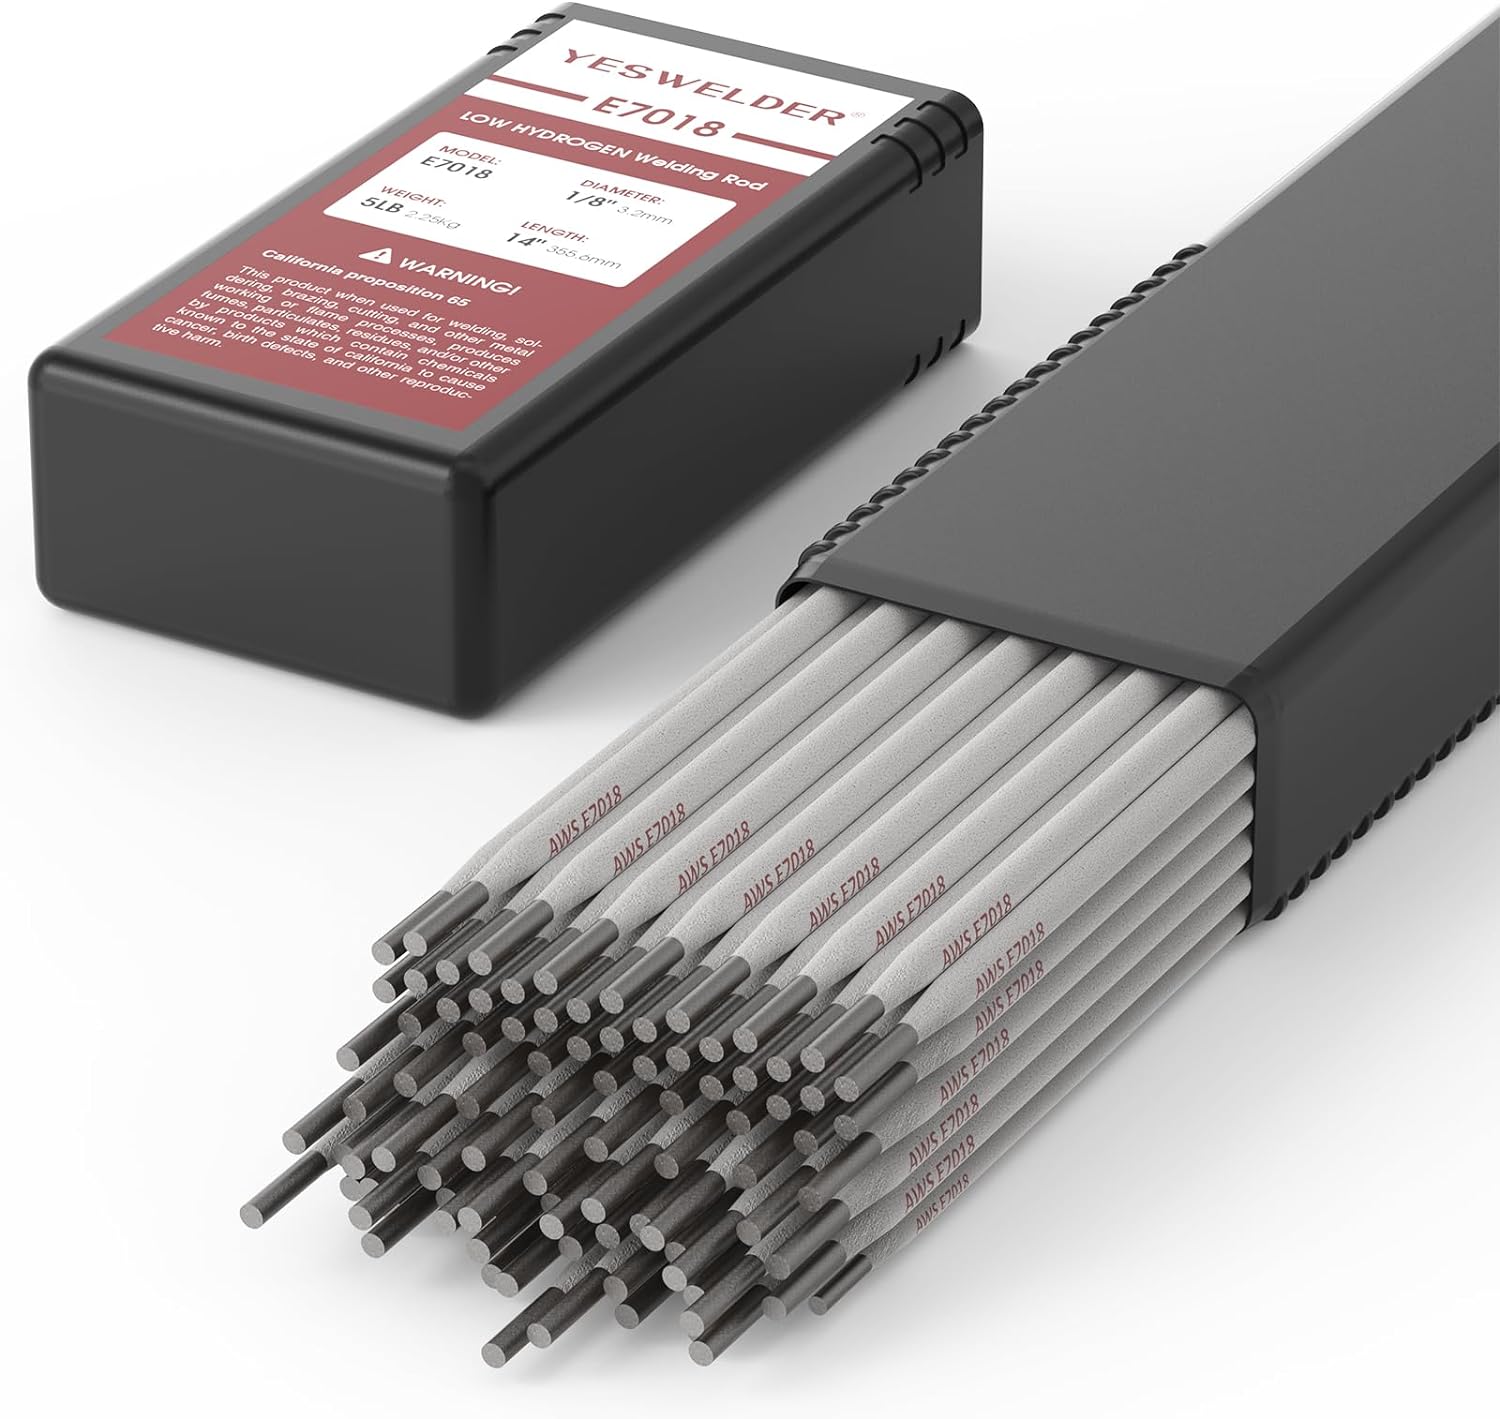
E7018: Considered one of the most versatile electrodes, E7018 offers excellent weld quality, low hydrogen levels, and good impact resistance. It is commonly used for structural applications.
Electrode Selection Guide
When selecting the right electrode, it is important to consider factors such as the metal being welded, joint configuration, amperage range, and desired weld characteristics. Each electrode type has specific characteristics that make it suitable for different applications. Referring to electrode manufacturers’ guidelines and consulting with experienced welders can help in choosing the right electrode for the specific welding project.
Pre-Welding Considerations
Before starting the welding process, several pre-welding considerations need to be addressed. These considerations ensure proper joint preparation, cleanliness, and preheating, all of which contribute to successful welds. Let’s explore some of these pre-welding considerations.
Joint Preparation
Proper joint preparation is crucial for achieving strong welds. It involves cleaning and shaping the joint to remove any contaminants, scale, or oxide layers. A well-prepared joint provides better fusion and minimizes the risk of defects. Depending on the joint configuration and metal type, specific joint preparation techniques such as beveling or chamfering might be required.
Cleaning and Prepping the Metal
The metal surface must be thoroughly cleaned and prepped before welding. Any dirt, oil, rust, or coatings can negatively impact weld quality. Cleaning methods can include wire brushing, grinding, or using chemical solvents. Once cleaned, the metal should be kept free from contaminants until the welding process begins.
Tack Welding
Tack welding involves making small, temporary welds along the joint to hold the workpieces in place. Tack welds ensure proper alignment and prevent distortion during the main welding process. It is important to use proper tack weld size and spacing, as excessive tack welds can lead to weaker welds and an increased risk of defects.
Preheating
Preheating the metal is often necessary, especially when working with thicker materials or in colder environments. Preheating helps to reduce cooling rates, minimize stress, and improve weld quality. The specific preheating temperature and duration depend on factors such as the metal type, thickness, and desired weld properties. Referring to preheating charts and guidelines based on industry standards can ensure proper preheating for each specific welding project.
Post-Welding Considerations
Once the welding process is complete, certain post-welding considerations must be addressed to ensure the quality and integrity of the weld. Let’s explore some of these considerations.
Cooling
Proper cooling of the weld is essential after completing the welding process. Rapid cooling can lead to increased stress and the formation of cracks. Allowing the weld to cool naturally or using controlled cooling methods, such as covering the weld with insulating materials, helps ensure proper cooling and reduces the risk of defects.
Grinding and Finishing
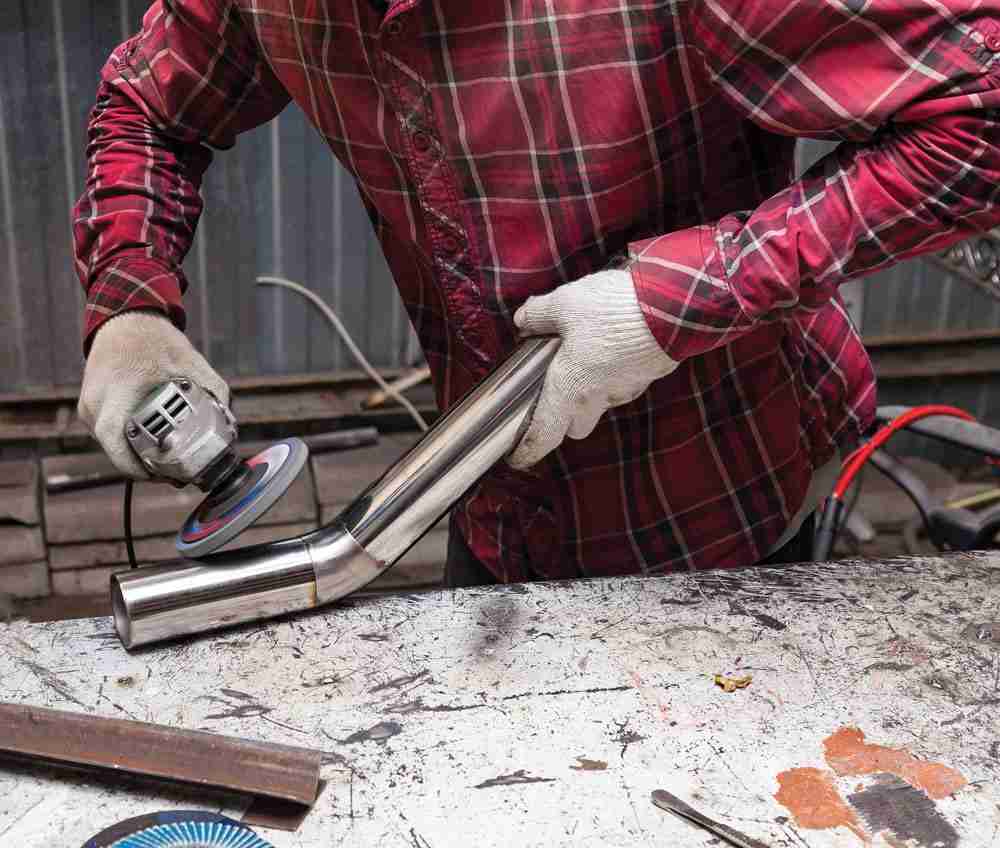
After the weld has cooled, grinding and finishing may be necessary to achieve the desired surface appearance and smoothness. Grinding removes any weld spatter, excess material, or rough edges, creating a visually appealing and structurally sound weld. Finishing techniques such as polishing or sanding can further enhance the appearance and remove any remaining imperfections.
Inspection and Quality Control
Inspecting the weld and conducting quality control checks are crucial to verify the integrity and strength of the weld. Visual inspections, such as examining the bead appearance and checking for visible defects, can provide valuable information. Additional non-destructive testing methods, such as ultrasonic testing or X-ray inspection, may also be necessary for critical applications. Conducting regular quality control checks ensures that the welds meet the required standards.
Common Challenges and Solutions
During the welding process, several challenges can arise. Understanding these challenges and implementing appropriate solutions is key to achieving successful welds. Let’s explore some common challenges and their solutions.
Undercutting
Undercutting occurs when the weld metal fails to completely fill the joint, leaving a groove along the edges. This can weaken the weld and increase the risk of failure. To prevent undercutting, it is important to adjust the amperage, travel speed, and electrode angle properly. Increasing the travel speed, reducing the amperage, or adjusting the electrode angle can help fill the joint and minimize undercutting.
Insufficient Penetration
Insufficient penetration occurs when the weld bead fails to fully penetrate through the joint, resulting in weak welds. To address this issue, increasing the amperage, adjusting the electrode angle, or using a different welding technique may be necessary. It is important to find the right balance to achieve the desired penetration without compromising the overall quality of the weld.
Excessive Heat
Excessive heat during welding can cause distortion, warping, and can potentially damage the base metal. To prevent excessive heat, it is important to control the amperage, travel speed, and heat input. Using proper welding techniques such as weaving or backstepping can help distribute the heat evenly and mitigate the risk of excessive heat build-up.
Warping and Distortion
Warping and distortion can occur during welding, particularly when working with thin metals or complex joint configurations. To minimize warping and distortion, proper clamping and fixture techniques should be used. Additionally, employing proper welding techniques, such as intermittent welding or backstepping, can help distribute heat and minimize the risk of distortion.
Cracking
Cracking can be a serious concern, especially in critical applications. It can occur due to factors such as improper joint design, inadequate preheating, or high levels of stress. To prevent cracking, it is important to follow recommended joint designs, properly preheat the metal when required, and control residual stresses through proper welding techniques. Additionally, post-weld heat treatment might be necessary for certain applications to relieve stress and reduce the risk of cracking.
Safety Precautions
Welding involves various safety hazards, and it is essential to take appropriate precautions to protect yourself and those around you. Here are some important safety measures to consider while welding.
Personal Protective Equipment (PPE)
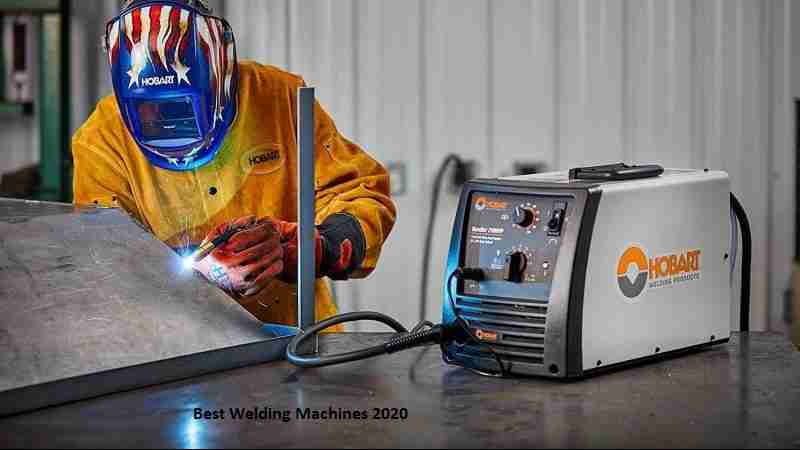
Wearing the proper personal protective equipment is crucial to safeguard against potential hazards. This includes protective clothing, gloves, safety glasses or goggles, welding helmets, and respiratory protection if necessary. Ensuring that PPE is in good condition and properly fitted is essential for effective protection.
Ventilation
Proper ventilation is important to remove welding fumes, gases, and other harmful substances from the work area. Working in a well-ventilated area or using local exhaust ventilation systems helps reduce the risk of exposure to welding fumes and promotes a healthier work environment.
Fire Safety
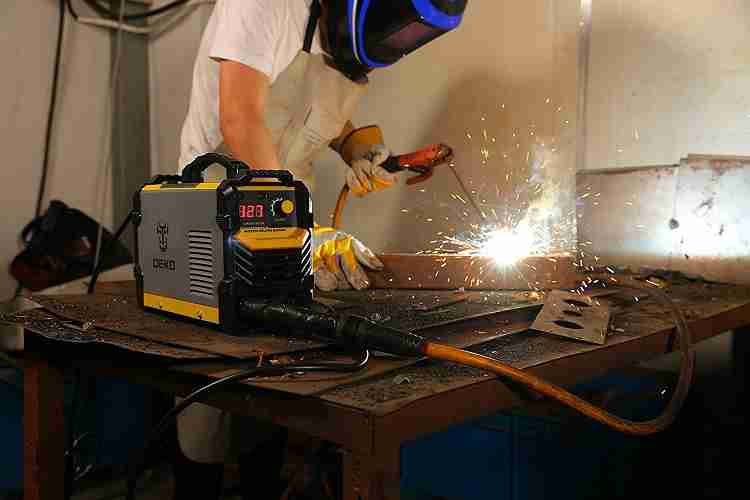
Welding involves intense heat and sparks, which can pose a fire hazard. It is important to have fire extinguishing equipment readily available in case of a fire. Keeping the work area clear of flammable materials and taking precautions to avoid sparks or hot slag from igniting nearby objects is crucial for fire safety.
Electrical Safety
Welding involves working with electricity, and it is essential to follow proper electrical safety practices. This includes inspecting welding cables and connections for damage, using appropriate grounding, and avoiding contact with live electrical parts. Following electrical safety guidelines minimizes the risk of electrical shock or other electrical hazards.
Fume Extraction
Proper fume extraction is necessary to control and remove welding fumes. Using fume extraction systems, such as local exhaust ventilation or fume extraction guns, helps minimize the risk of inhalation and exposure to harmful fumes and gases. It is important to position the extraction equipment appropriately for effective fume removal.
Conclusion
The amperage required for welding depends on various factors such as the type and thickness of the metal, electrode type, joint configuration, and welding technique. Understanding these factors and properly adjusting the amperage ensures strong and consistent welds.
Choosing the right electrode, considering pre-welding and post-welding considerations, addressing common welding challenges, and following safety precautions are all crucial for achieving successful welds.
By paying attention to these factors and taking the necessary precautions, welders can achieve high-quality welds that meet the required standards and ensure the durability and integrity of the welded structures.


