So you’re in the market for an auto-darkening welding helmet, but you’re not quite sure where to begin. Don’t worry, we’ve got you covered! In this article, we’ll walk you through the key factors to consider when selecting the perfect helmet for your welding needs. From lens shade options to comfort features, we’ll help you navigate through the wide array of choices out there so that you can make an informed decision and protect your eyes while on the job. Let’s get started!
Protection Level
When choosing an auto-darkening welding helmet, one of the most important factors to consider is the level of protection it offers. This ensures that our eyes and face are shielded from the intense light and harmful radiation produced during welding.
Evaluate ANSI and EN Standards
To determine the protection level of a welding helmet, we should evaluate whether it adheres to the ANSI (American National Standards Institute) and EN (European Norm) standards. These standards ensure that the helmet meets minimum safety requirements and provides reliable protection. Look for helmets that are ANSI Z87.1 certified and EN 175 compliant.
Consider Shade Range
Another aspect to consider in terms of protection is the shade range of the helmet. The shade range refers to the level of darkness the helmet can achieve when welding. Different welding processes require different shade levels, so it’s important to choose a helmet that offers a wide range of shades to suit our welding needs. A helmet with a shade range of 9-13 is typically versatile enough to cover various welding processes.
Check for UV and IR Protection
In addition to shades, we should also check if the helmet provides adequate protection against ultraviolet (UV) and infrared (IR) radiation. These types of radiation are emitted during welding and can cause serious eye damage if not properly blocked. Look for helmets with a high UV/IR protection rating, usually specified as UV/IR protection up to DIN 16 or higher.
Verify Lens Reaction Time
Having a fast lens reaction time is crucial for our safety and comfort while welding. Lens reaction time refers to how quickly the auto-darkening filter transitions from its light state to its dark state when exposed to an arc. A fast reaction time, usually measured in milliseconds, ensures that our eyes are protected instantly when the welding process begins. Look for helmets with a reaction time of 1/20,000th of a second or less for optimal performance.
Optical Clarity
Aside from protection, optical clarity is another key aspect to consider when choosing an auto-darkening welding helmet. A helmet with excellent optical clarity allows us to see the welding area clearly, increasing our productivity and reducing eye strain.
Differentiate between Clarity Levels
Helmets often come with different levels of optical clarity. The clarity level is measured by the number of optical classes, with Class 1 being the highest and Class 3 being the lowest. Helmets with higher clarity levels offer better visibility and sharper image quality. For professionals or those who require precise work, it’s advisable to choose a helmet with Class 1 optical clarity.
Assess Distortion and Color Recognition
It’s important to assess the helmet for any distortion or color recognition issues. Some lower-quality helmets may cause distortions in the field of view, making it difficult to accurately judge the welding area. Additionally, some helmets may alter color perception, making it harder to distinguish between different shades and materials. Testing the helmet and evaluating its distortion and color recognition capabilities will help ensure a clearer view during welding.
Review Viewing Area Size and Shape
Consider the size and shape of the viewing area as well. A larger viewing area provides a wider field of vision, allowing us to see more of the welding area without constantly readjusting the helmet. However, keep in mind that a larger viewing area may also make the helmet heavier. It’s important to find a balance between the desired viewing area size and the overall weight of the helmet for optimal comfort and usability.
Comfort and Fit
Since welding can be a physically demanding task often requiring long hours, it’s essential to choose a welding helmet that prioritizes comfort and provides a secure fit. This ensures that we can work for extended periods without discomfort or distractions.
Evaluate Helmet Weight
The weight of a welding helmet plays a significant role in comfort, especially during long welding sessions. Heavy helmets can strain our neck and cause fatigue, impacting productivity. Look for helmets that are lightweight yet still offer adequate protection. By choosing a lightweight helmet, we can reduce strain and work more comfortably for extended periods.
Assess Adjustability
A welding helmet should be adjustable to fit various head sizes and shapes. This allows for a customized and secure fit, enhancing comfort and safety. Look for helmets with adjustable headbands or straps, as well as adjustable sensitivity and delay settings for the auto-darkening filter. Ensuring that the helmet fits securely on our head will prevent it from moving during welding, providing a clear line of sight at all times.
Consider Headgear Padding
Headgear padding is another comfort feature worth considering. Helmets with sufficient padding provide a cushioning effect and help distribute the weight evenly, reducing pressure points and discomfort. The padding should be durable, washable, and designed to withstand prolonged use. Choosing a helmet with quality headgear padding will enhance overall comfort and minimize the risk of headaches or discomfort during welding.
Verify Helmet Balancing
The balance of a welding helmet is often overlooked but can have a significant impact on comfort and usability. A well-balanced helmet ensures that the weight is distributed evenly across the head, reducing strain on the neck and improving overall stability. Test the helmet to ensure that it feels balanced when worn, with no excessive tilting or pressure on specific areas of the head.
Power Supply
When it comes to auto-darkening welding helmets, power supply options are essential factors to consider. The power supply determines the functionality and versatility of the helmet, as well as its convenience for the welder.
Determine Battery Type and Life
Auto-darkening helmets typically use replaceable batteries. Take the time to evaluate the type of battery used and its expected life span. Lithium batteries are commonly used due to their longer life and lighter weight. Helmets with longer battery life are preferable as they reduce the frequency of battery replacements and minimize downtime during welding.
Consider Solar Power
Many welding helmets now come equipped with solar panels to supplement or replace the batteries. Solar-powered helmets can extend battery life or even operate solely on solar power. This feature provides convenience and sustainability, as exposure to natural or artificial light continuously charges the helmet. Additionally, having solar power as a backup can ensure uninterrupted welding even if the battery runs low.
Evaluate Backup Power
It’s essential to evaluate the availability of backup power options in case the batteries run out or the solar panels are not receiving sufficient light. Some helmets include the option to use external power sources, such as USB or direct connection to an electrical outlet. This capability ensures that we can continue welding even if the primary power source is unavailable or depleted.
Check for Battery Replacement Capability
When selecting a welding helmet, check if the batteries are easily replaceable. Some helmets require professional servicing to replace the battery, which can be inconvenient and costly in the long run. Ideally, choose a helmet that allows for user-replaceable batteries, making it easier and more cost-effective to maintain the helmet’s power supply over time.
Sensors
Sensors play a critical role in the performance of auto-darkening welding helmets. They detect the arc light and trigger the auto-darkening filter, ensuring that our eyes are protected in a timely manner.
Assess Sensor Quantity
The number of sensors in a welding helmet determines its sensitivity to arc light and how quickly it reacts to protect our eyes. Helmets typically have two to four sensors strategically placed to detect the light emitted from the welding process. More sensors increase the helmet’s reliability, as they provide a better chance of capturing the arc light from various angles. Consider helmets with multiple sensors for optimal protection.
Check Sensor Locations
The locations of the sensors within the helmet are crucial as they determine how effectively they can detect the arc light. Ideally, sensors should be evenly distributed across the viewing area to ensure that they can respond to any arc light regardless of the welding position. Take note of the sensor placement and ensure that they cover the necessary areas to guarantee adequate protection.
Evaluate Sensor Reaction Time
Sensor reaction time is an essential factor to consider, as it affects how quickly the auto-darkening filter engages, protecting our eyes from the intense light produced during welding. Faster reaction times prevent our eyes from being exposed to harmful radiation and reduce the risk of eye fatigue. Look for helmets with sensors that have quick reaction times, ideally 1/20,000th of a second or faster, to ensure optimal eye protection.
Versatility
The versatility of an auto-darkening welding helmet determines its usefulness across various welding processes and applications. Having a versatile helmet allows us to switch between different welding techniques without needing to switch helmets.
Consider Welding Processes
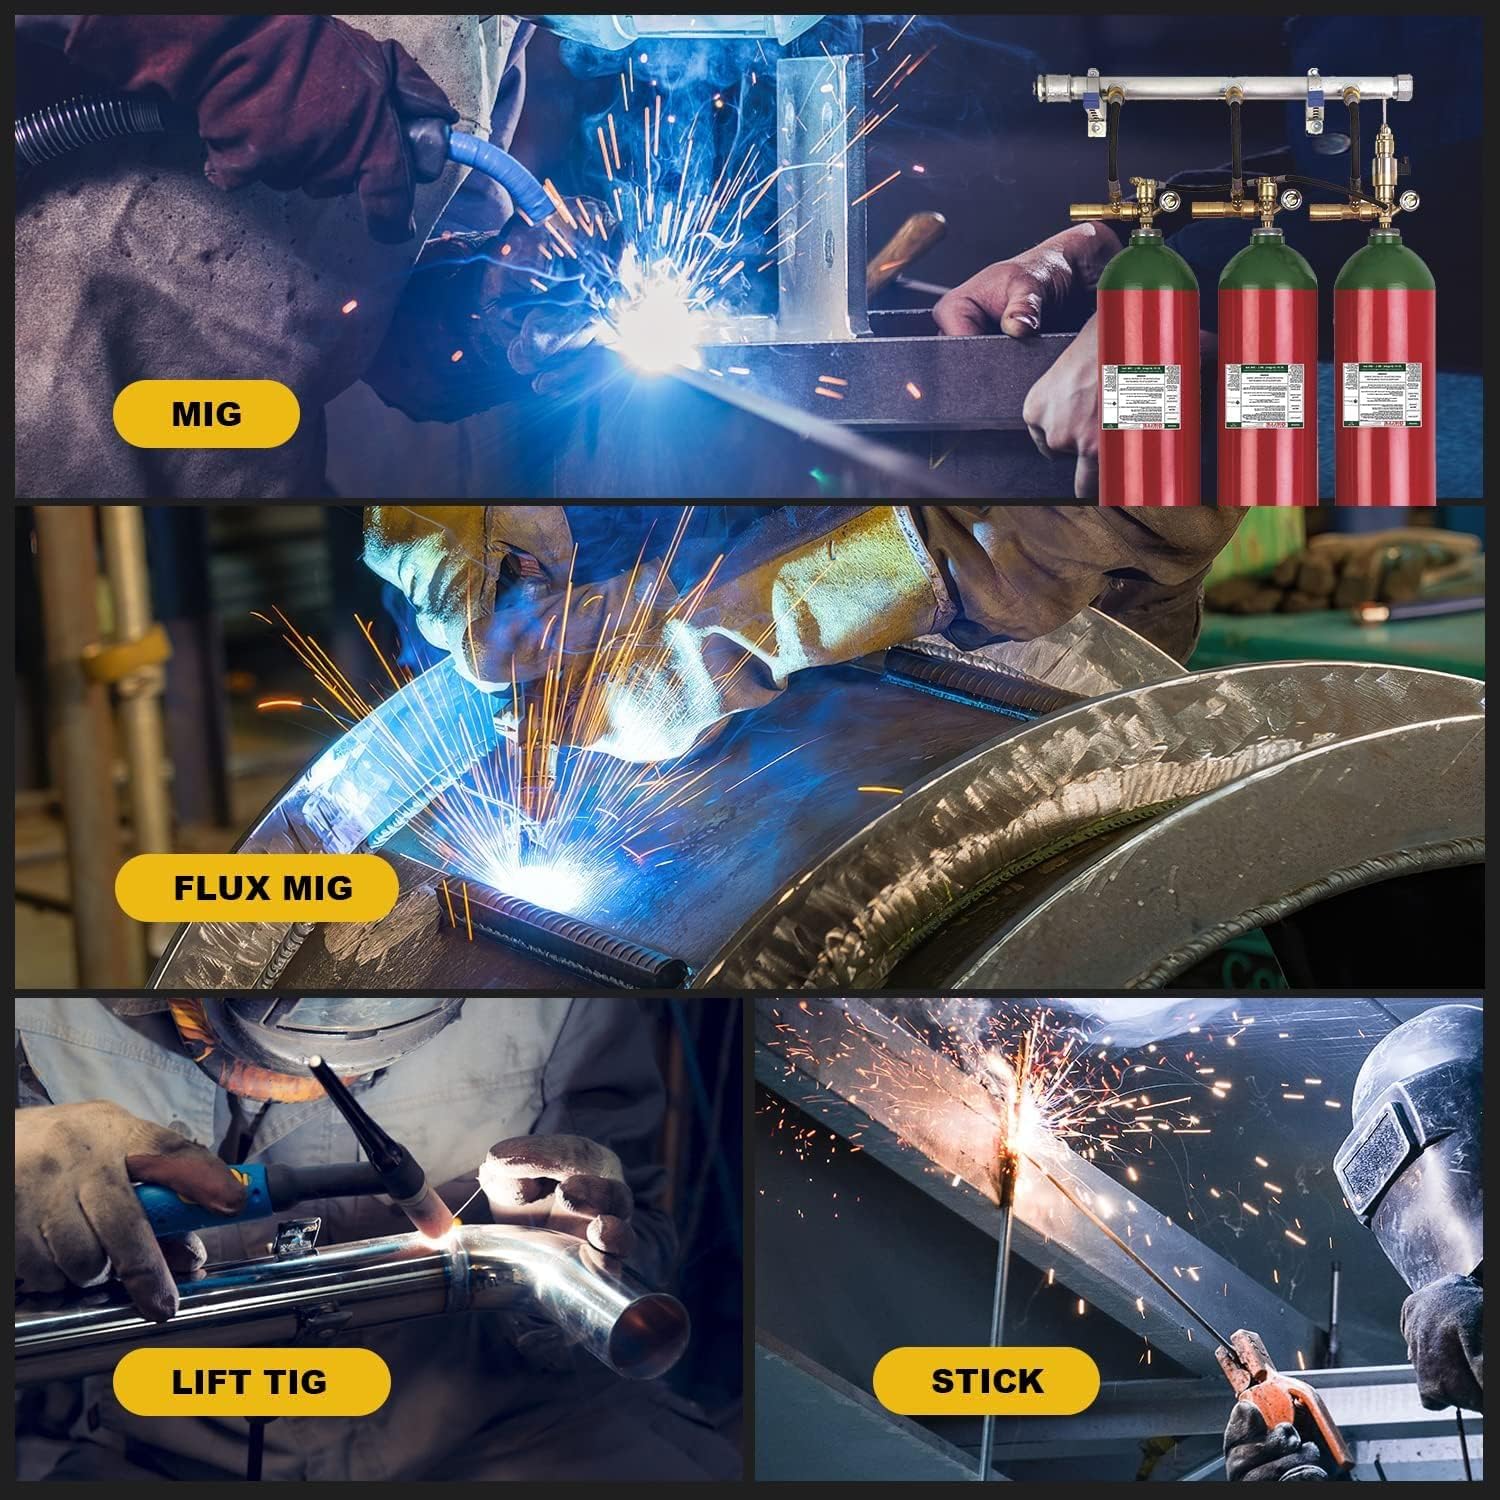
Different welding processes, such as MIG, TIG, and stick welding, require different shades and levels of protection. When choosing a helmet, ensure that it is suitable for the welding processes we frequently engage in. Helmets with a wide shade range, typically from 9 to 13, can accommodate multiple welding processes, providing versatility and convenience.
Verify Sensitivity Adjustment
Some welding processes produce less intense light than others. Having the ability to adjust the helmet’s sensitivity allows us to customize our eye protection settings according to the specific welding process or environment. Look for helmets that offer sensitivity adjustment options to ensure optimal protection and visibility, regardless of the welding conditions.
Check for Grind Mode
Grinding is often required during welding projects to smooth out edges or prepare surfaces. Having a helmet with a dedicated grind mode saves time and effort by eliminating the need to switch helmets between welding and grinding. Grind mode typically offers a lighter shade that allows better visibility while still protecting our eyes from flying debris or sparks.
Durability
Durability is a crucial aspect to consider when selecting an auto-darkening welding helmet. Welding environments can be demanding, with sparks, heat, and potential impacts posing risks to the helmet’s longevity.
Evaluate Helmet Material
The material used for the helmet construction affects its durability and resistance to impacts. Look for helmets made from high-quality materials, such as durable polycarbonate, that can withstand the challenges of welding environments. Stronger materials ensure that the helmet remains intact and continues to provide adequate protection even in harsh conditions.
Assess Lens Material
The lens of the welding helmet is a critical component that requires careful consideration. High-quality lenses made from high-impact- and scratch-resistant materials, such as polycarbonate, offer better durability and longevity. A lens with proper protection ensures that our eyes stay safe and that the helmet remains functional for an extended period.
Check for IP Rating
The IP (Ingress Protection) rating indicates the helmet’s resistance to dust, water, and other foreign substances. This rating is crucial, especially in environments prone to dust or moisture. Look for helmets with an IP rating of at least IP23, meaning they provide adequate protection against solid objects greater than 12.5mm in diameter and against water spray from any direction. Higher IP ratings offer even better protection against dust and water, ensuring the longevity and reliability of the helmet.
User-Friendly Features
A user-friendly welding helmet enhances convenience and ease of use, making welding tasks more efficient and comfortable. Consider these features when selecting an auto-darkening welding helmet.
Assess Control Button Placement
The placement of control buttons on the helmet is important for ease of use. Buttons should be easily accessible and intuitive to operate, allowing us to make quick adjustments while welding without the need to remove our gloves. Look for helmets with well-positioned buttons that can be easily manipulated, minimizing interruptions and maximizing efficiency.
Consider External Controls
In addition to the helmet’s control buttons, some models offer the convenience of external controls. These external controls can be attached to our welding gear or workstations, allowing us to adjust settings without needing to remove the helmet. This feature is especially useful when frequent adjustments are required during welding, providing a seamless and efficient workflow.
Evaluate Ease of Use with Gloves
Welders often work with gloves for safety and protection. It’s important to choose a helmet that can be easily operated while wearing gloves. The control buttons should be large enough and have enough tactile feedback to allow us to make adjustments without having to struggle with precise finger movements. Consider the helmet’s usability with gloves to ensure a smooth and hassle-free welding experience.
Check for Info Display Options
Having an information display on the helmet can be beneficial for monitoring settings and conditions during welding. Look for helmets with clear, easy-to-read displays that provide essential information such as shade levels, battery status, and sensitivity settings. Having this information readily available on the helmet eliminates the need to carry external devices or consult additional references, simplifying the welding process.
Brand and Reputation
When investing in an auto-darkening welding helmet, it’s important to research and consider the manufacturer’s brand and reputation. The brand’s credibility and track record play a significant role in determining the helmet’s quality and reliability.
Research Helmet Manufacturers
Spend some time researching different welding helmet manufacturers to get an overview of their products and reputation. Reputable manufacturers often have years of experience and a commitment to producing high-quality helmets. Look for manufacturers known for producing durable, reliable, and innovative welding helmets, ensuring that the helmet chosen is backed by a reputable name in the industry.
Read Customer Reviews
Reading customer reviews provides insights into the actual experiences of other welders who have used the helmet. Pay attention to reviews that mention the helmet’s performance, durability, comfort, and overall user satisfaction. Positive customer reviews can indicate a well-regarded product, while negative reviews may indicate potential issues or limitations worth considering. By considering a range of customer experiences, we can make a more informed decision about which helmet to choose.
Evaluate Warranty and Support
A generous warranty and reliable customer support add value to a welding helmet. Look for helmets that come with a substantial warranty, as this demonstrates the manufacturer’s confidence in their product. A warranty not only provides peace of mind but also protects us from any potential manufacturing defects. Additionally, consider the availability and responsiveness of customer support, ensuring that assistance is readily available should any issues arise with the helmet.
Price Range
When making any purchasing decision, it’s important to consider our budget and the value for money that the product offers. Welding helmets come in a range of prices, and finding the right balance between cost and quality is crucial.
Determine Budget
Before beginning the search for an auto-darkening welding helmet, it’s important to establish a budget. By determining the maximum amount we are willing to spend, we can narrow down our options and focus on helmets within our price range. Setting a budget ensures that we can make a realistic and informed decision without overspending or compromising on vital features.
Assess Value for Money
While price is an important factor, it’s equally essential to assess the value for money that a welding helmet offers. Consider the helmet’s features, protection level, durability, and overall quality alongside its price. A more expensive helmet may offer additional features, enhanced performance, or superior durability that justify the higher cost. Evaluate the cost-effectiveness of the helmet and prioritize value rather than solely focusing on the price tag.
By considering all of these factors when choosing an auto-darkening welding helmet, we can ensure that we select the right helmet to meet our needs and provide optimal protection, comfort, and usability. Investing in a high-quality helmet from a reputable manufacturer will result in a safer and more efficient welding experience in the long run.


